


")


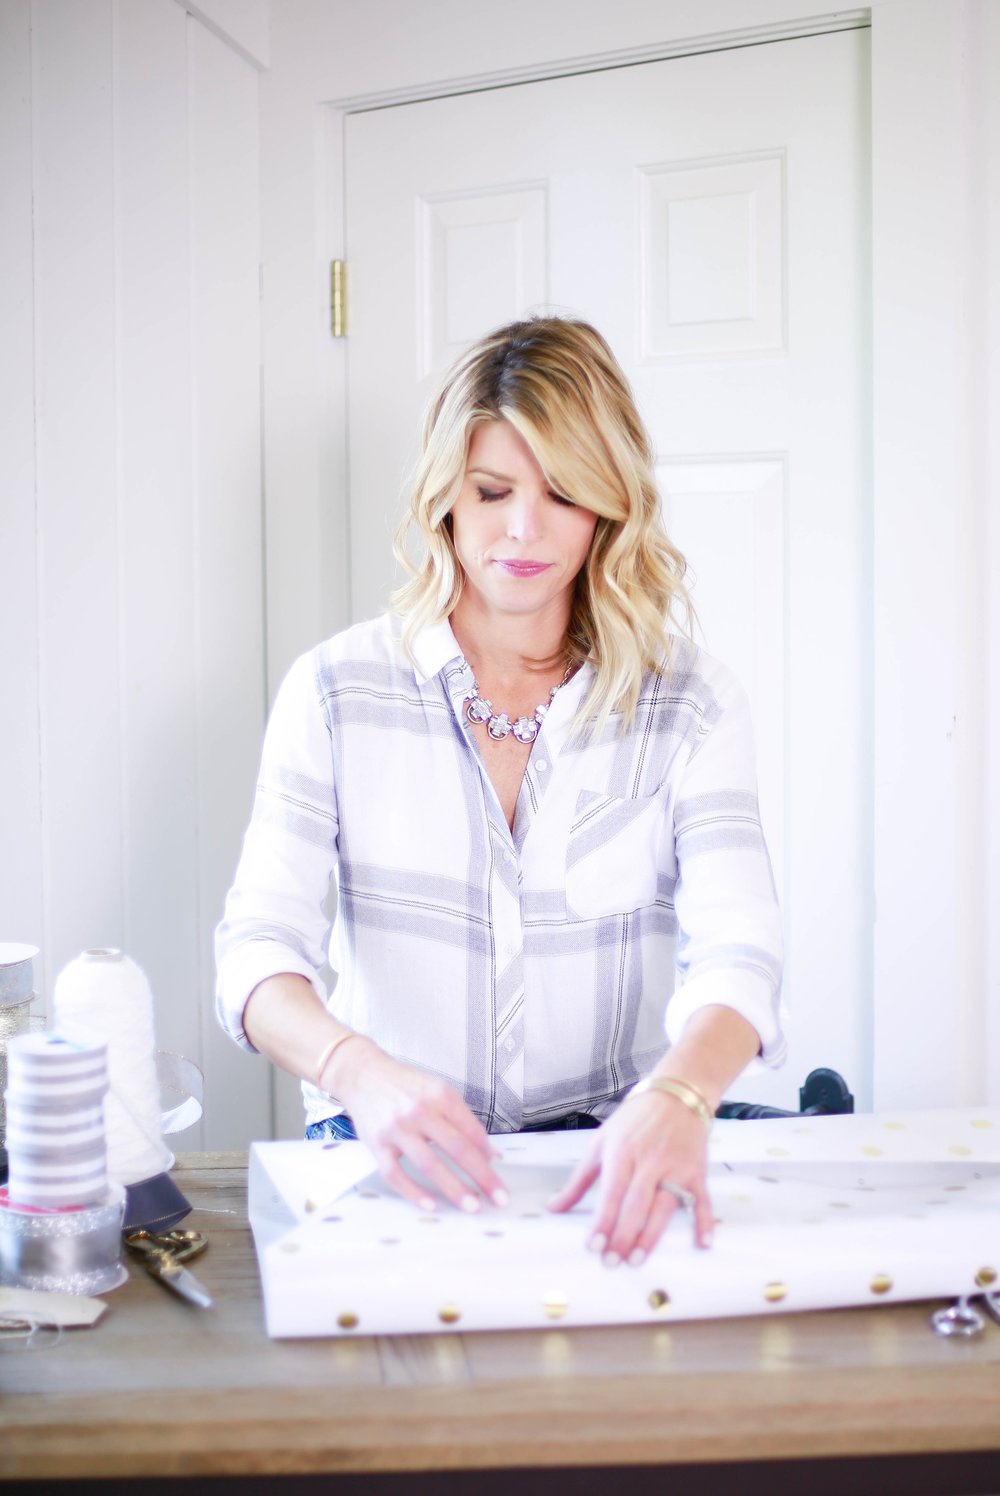
Wrapping the gifts is one of my favorite parts about Christmas. I spend hours agonizing over the colors and theme for each years gifts. I usually start with an inspiration piece, whether that be my tree decorations, a specific roll of wrapping paper, a ribbon or a gift tag that has caught my eye. This year I have gone very simple with my Christmas decorations, which you will be seeing tomorrow, with lots of white. I decided that I wanted to stick with neutrals, big surprise, but bring a little contrast to the trees so I am incorporating a lot of grey and silver into my gift wrap.

top (different cut) | necklace (similar)
I found a lot of my Christmas wrap at The Container Store this year. They always have such a beautiful selection to choose from. Of course I also had to hit up Target to check out their Sugar Paper collection, and they did not disappoint. Plus a few stops at my local JoAnn’s, Michael’s, HomeGoods and TJMaxx. I put together four different looks using a combination of gray, silver, gold and white papers and accessories and I am loving how they turned out.

LOOK ONE
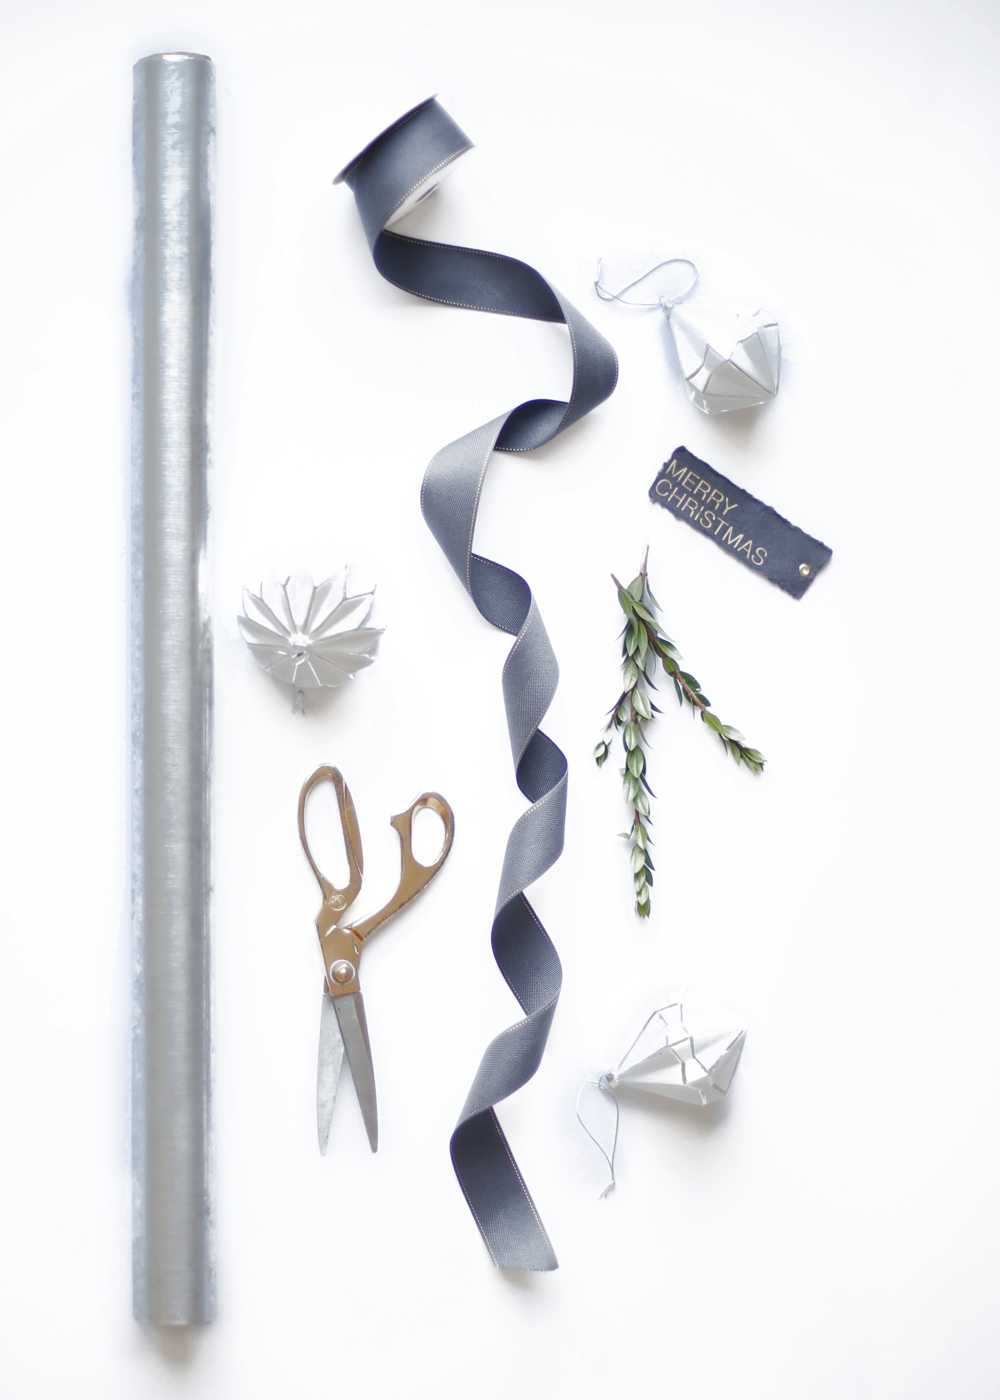
Wrapping Paper | Ribbon (similar) | Ornaments | Gift Tags
LOOK TWO
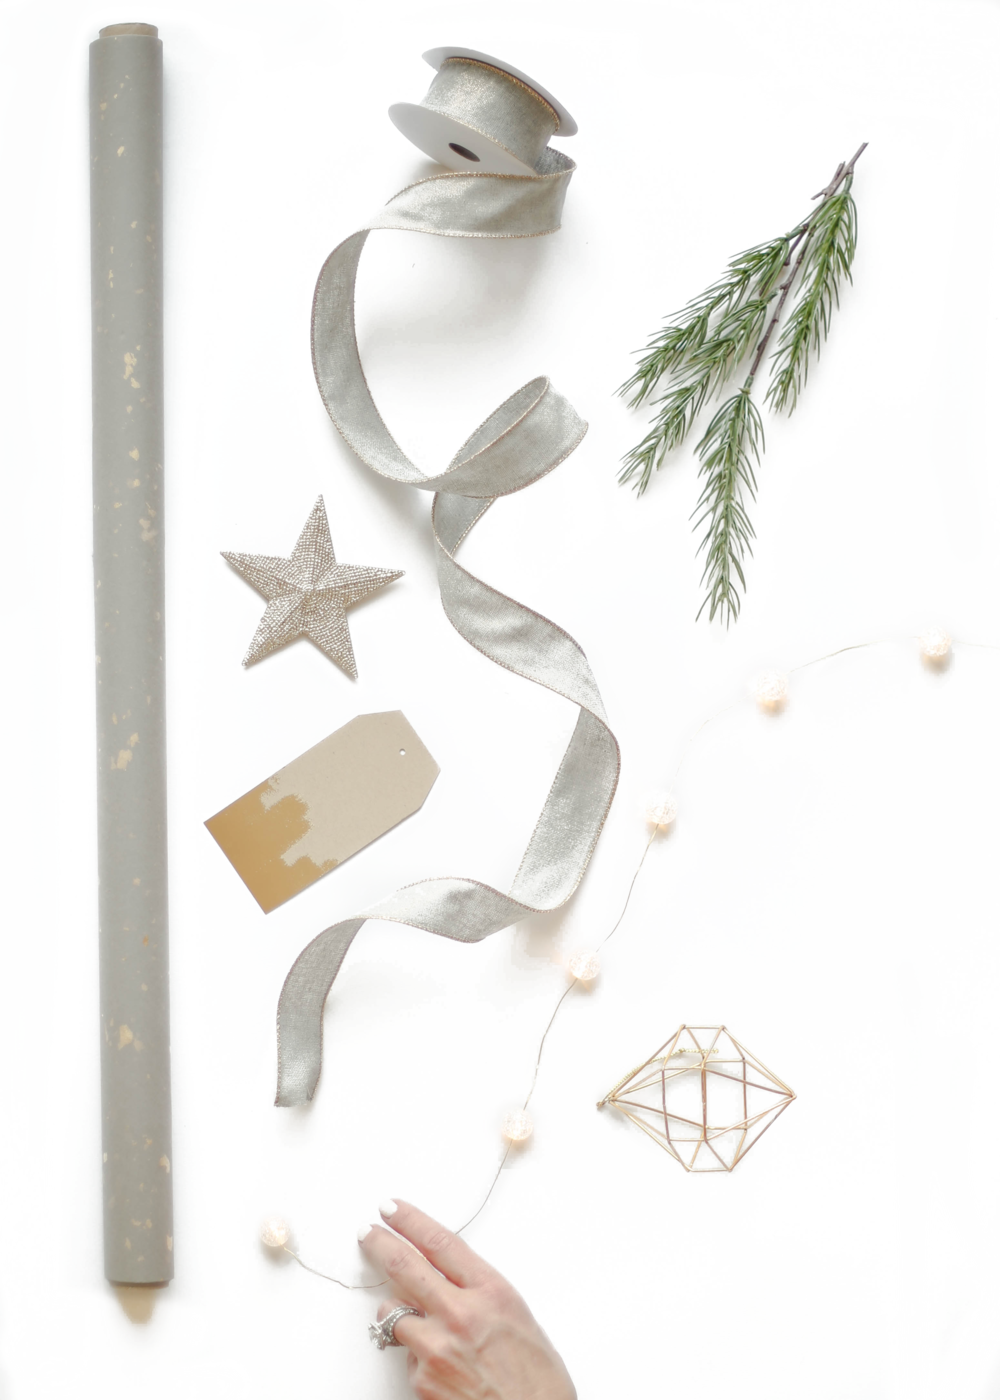
Wrapping Paper | Ornament | Ornament
LOOK THREE
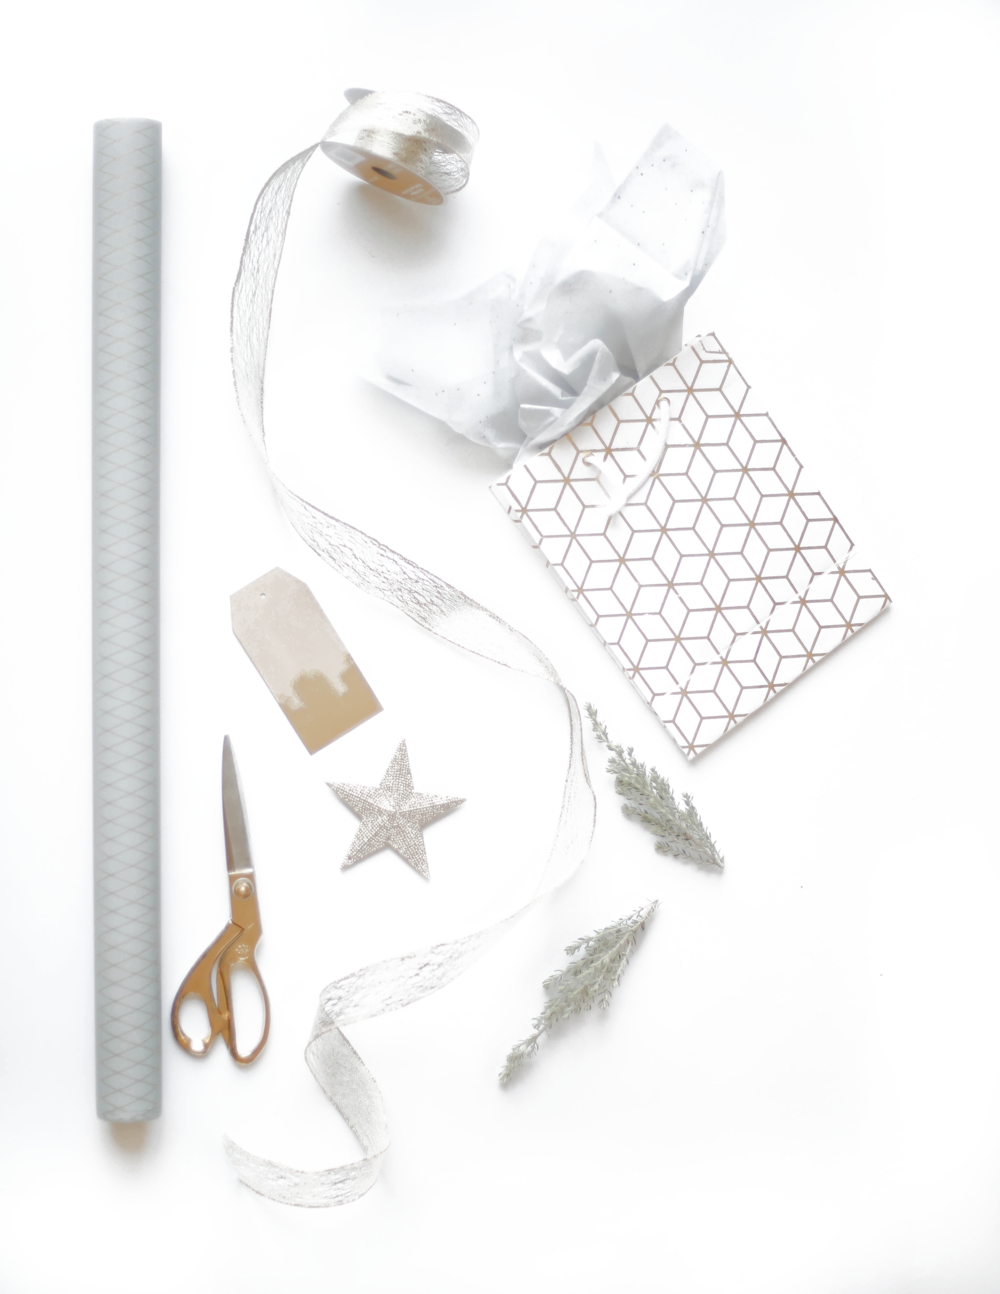
Wrapping Paper | Ribbon | Ornament
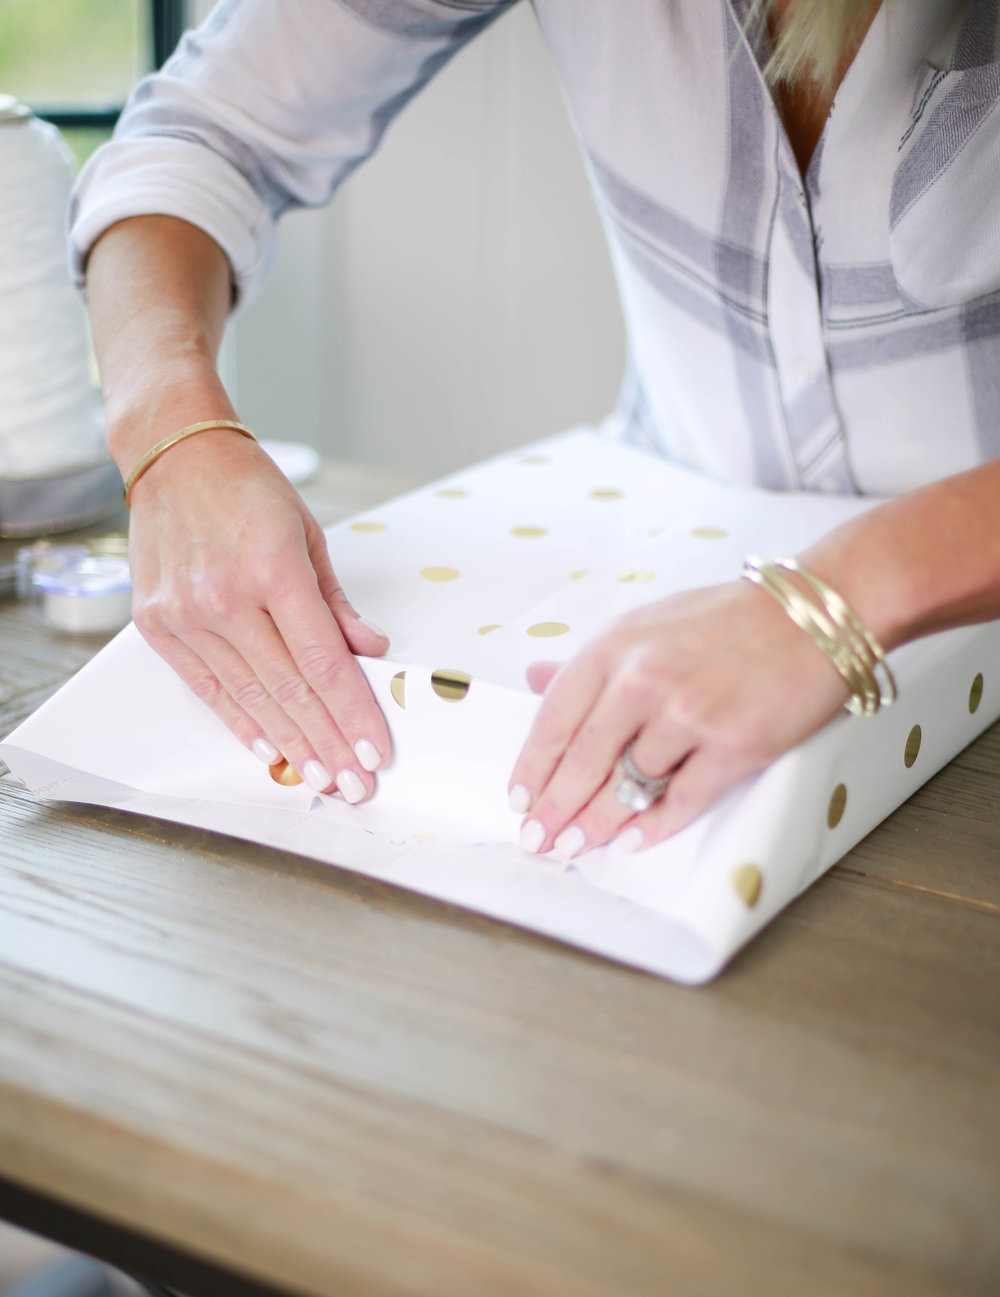
A LITTLE HOW-TO
- try to buy paper with some weight to it and avoid the flimsy stuff that tears easily.
- unroll paper on a flat surface, dining room table or kitchen counter work best. Wrapping on the floor makes it harder to create a clean crisp package.
- roll paper out and flip box over so that the seems are on the bottom on the box.
- measure out just enough paper *the secret is NOT using too much paper, which causes the bulkiness and sloppy folds. Ends should just overlap a few inches on the sides of the box.
- pull paper tightly, folding cut edge underneath to create a clean closure.
- use sharp scissors or rotary cutter to cut paper.
- secure with clear tape or double sided tape for a clean look.
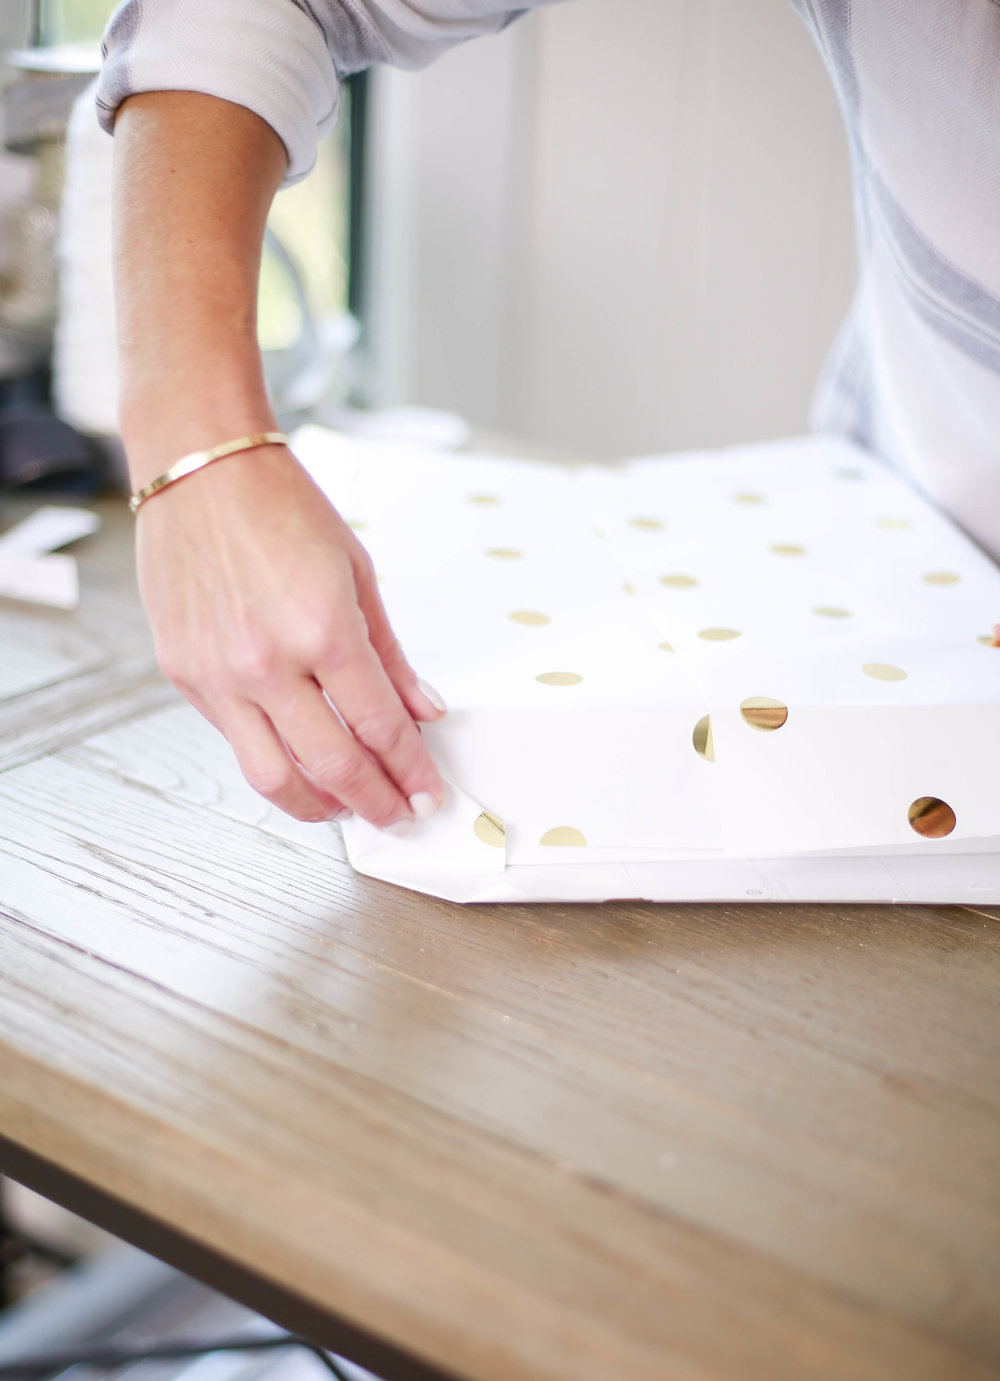
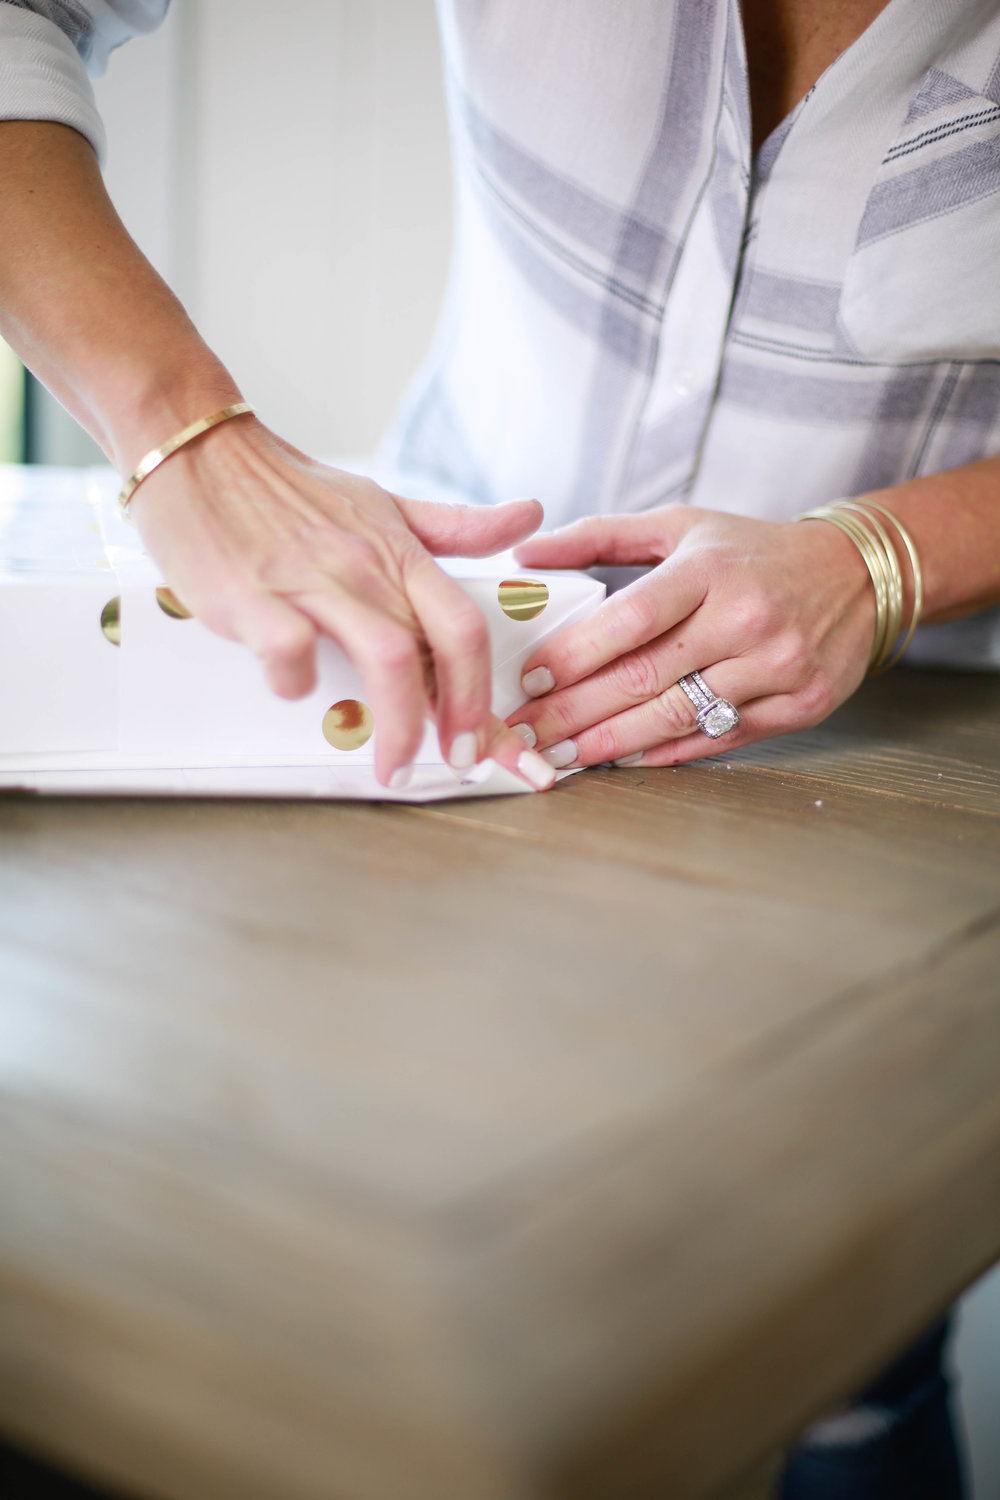
- for the sides: flatten the paper against the high part of the box.
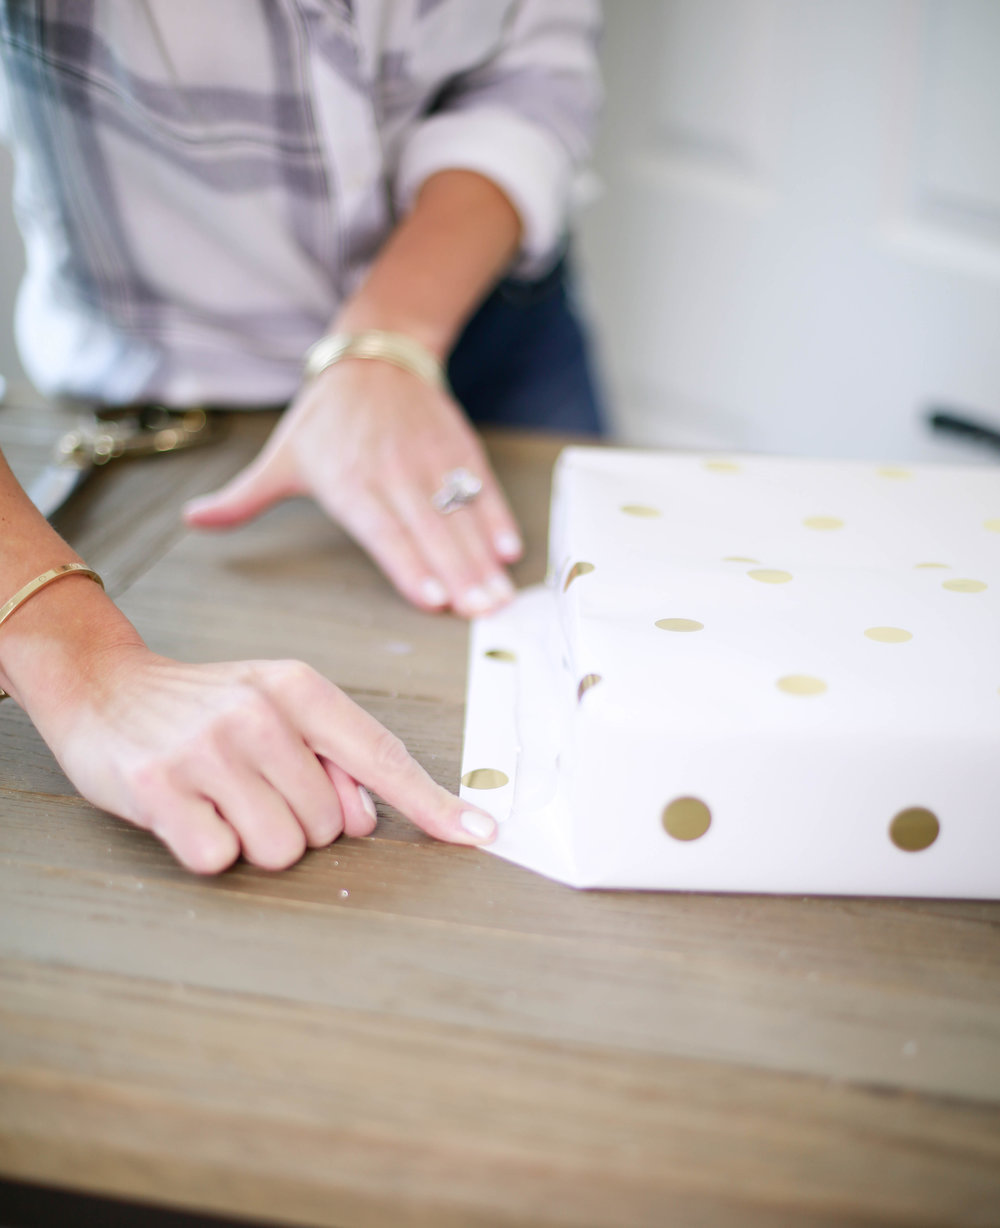
- You’ll create two little wings that stick out, take each wing and fold against the box to create a triangle, using your fingernail to crease the sides, so that it looks clean and crisp. Fold over and secure in place with tape.
- Repeat on other side.
- Flip box over and it’s ready to embellish with ribbons, fresh greens and ornaments.

WRAPPING PAPER I LOVE

EMBELLISHMENTS + TOOLS


Love the details! They make all the difference.